UIToolKit|02 控件
简单示例
简单通过代码访问对象
public class Test : MonoBehaviour
{
    public UIDocument document;

    private void Start ()
    {
        var root = document.rootVisualElement;
        var btn  = root.Q<Button> ("button1");

        btn.clicked += (() =>
        {
            Debug.Log ("点击");
        });
    }
}
UXML里要加上name

然后点击就有效果了
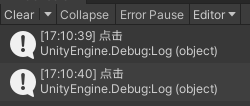
获取对象
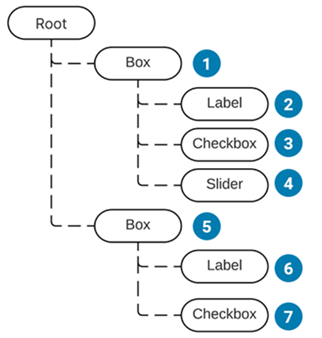
不难发现获取对象需要通过rootVisualElement.Q来获取
我们必须给每一个控件都添加一个名字
UItoolKit目前只支持两种方式获取对象
-
rootVisualElement.Q<T>(控件别名) 精准查询
-
rootVisualElement.Q<T>() 模糊查询
当使用模糊查询时,会自上而下以深度优先查询
图文混排
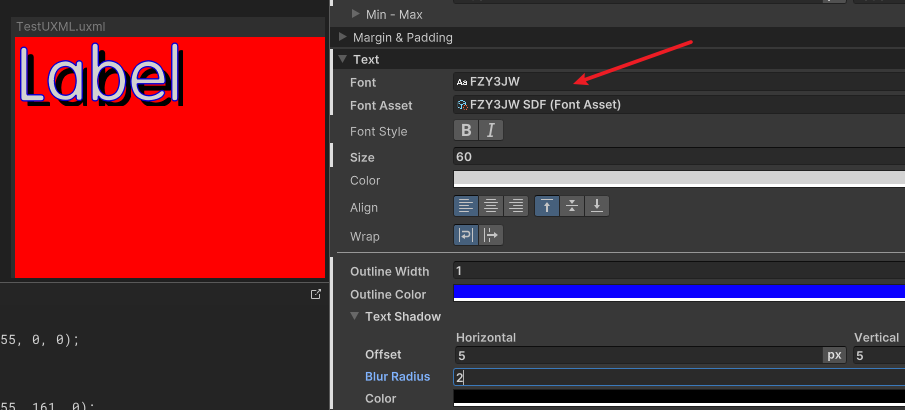
首先创建字体资源

这时候就已经可以在UXML中使用字体资源了
然后制作ICON资源
首先图片类型是Sprite,然后选择Multiple
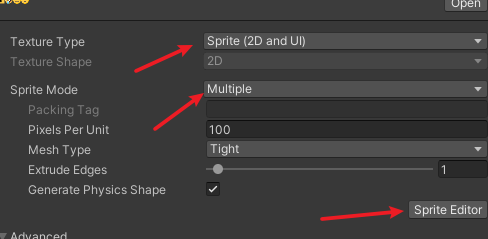
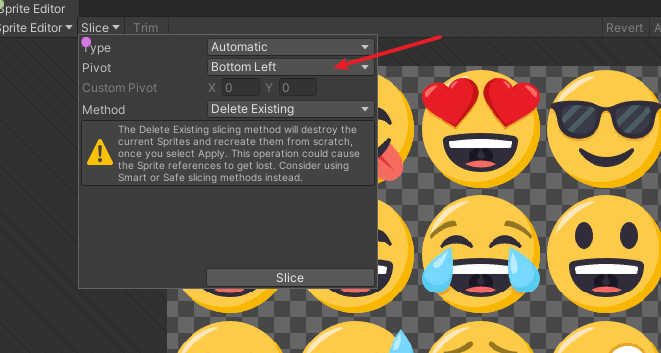
随后打开Sprite Editor切图
记得Pivot务必选择左下角
随后创建图集资源
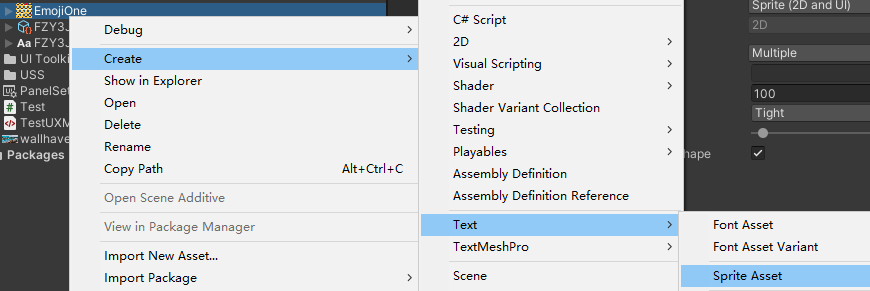
创建一个UXML的字体设置资源

把字体和图集都绑定上去
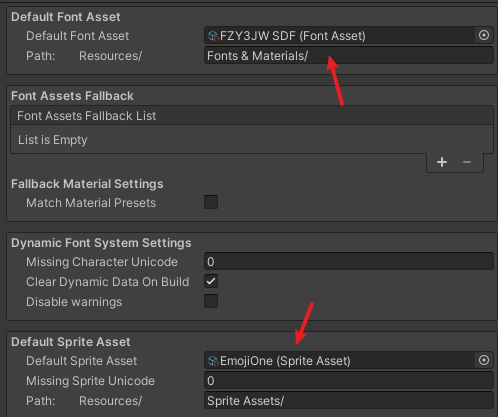
把字体设置绑定到PanelSetting

接下来的用法就和TextMeshPro一样了

事件系统
对于一些常用的可交互组件,比如Button和Toggle,ToolKit已经内置了点击事件,但是图片和文字这样的纯显示组件,UIToolKit可能默认他们是不需要交互的,但实际上确实需要,这就需要我们自己添加事件了
内置组件使用起来很简单
var root = document.rootVisualElement;
var btn  = root.Q<Button> ("button1");
btn.clicked += (() =>
{
    Debug.Log ("点击");
});
非内置组件则需要自己添加事件
var vis = root.Q<VisualElement>("visual1");

vis.RegisterCallback<MouseUpEvent>(evt =>
{
    Debug.Log("鼠标抬起");
});

vis.RegisterCallback<MouseDownEvent>(evt =>
{
    Debug.Log("鼠标按下");
});
Scroll View
Item元素也算作一个新的UI,我们需要创建一个新的UXML

在主UI里直接拖进来一个ScrollView
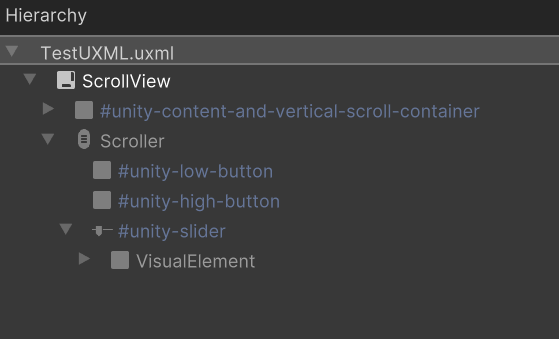
子元素需要作为VisualTreeAsset被克隆
public class Test : MonoBehaviour
{
    public UIDocument document;

    public VisualTreeAsset asset;

    private void Start()
    {
        var root = document.rootVisualElement;

        var scroll = root.Q<ScrollView>();

        for (int i = 0; i < 100; i++)
        {
            var item = asset.CloneTree();
            item.Q<Label>().text = $"新年快乐 {i}";
            item.Q<VisualElement>("img1").style.backgroundColor = new StyleColor(new Color(i/100f, i/200f, i/50f));
            scroll.Add(item);
        }
    }
}
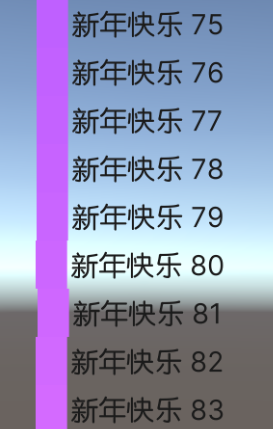
但是目前有一个问题,在PC上滑动只能通过鼠标中键或者拖动滚动条来进行
不能想手机上那样触摸滚动
ListView
UIToolKit自带的无线滚动列表
public class Test : MonoBehaviour
{
    public UIDocument document;
    public VisualTreeAsset asset;

    private void Start()
    {
        var root = document.rootVisualElement;
        var scroll = root.Q<ListView>();

        var items = new List<ListData>();
        for (int i = 0; i < 10000; i++)
        {
            items.Add(new ListData { name = $"新年快乐{i}", color = new Color(i/10000f,i/20000f,i/5000f, 1f) });
        }

        scroll.itemsSource = items;
        scroll.makeItem = () => asset.CloneTree();
        scroll.bindItem = (element, i) =>
        {
            element.Q<Label>().text = items[i].name;
            element.Q<VisualElement>("img1").style.backgroundColor = items[i].color;
        };
    }

    class ListData
    {
        public string name;
        public Color color;
    }
}
- items:每个item的原始数据
- makeItem:每一个item如何生成
- bindItem:每一个item如何和数据关联