入门精要|04 基础纹理
单张纹理
就是用纹理颜色代替漫反射颜色
Shader "Custom/SingleTexture"
{
    Properties
    {
        // 声明纹理属性
        _MainTex("MainTexture",2D)="white"{}
        _Specular("Specular",Color)=(1,1,1,1)
        _Gloss("Gloss",Range(8,256))=8
    }
    SubShader
    {
        Pass
        {
            Tags{"LightMode"="ForwardBase"}

            CGPROGRAM

            #pragma vertex vert
            #pragma fragment frag

            #include "Lighting.cginc"

            sampler2D _MainTex;
            float4 _MainTex_ST;// 记录纹理坐标的偏移(x,y)和缩放(z,w),注意命名格式必须是XX_ST
            fixed4 _Specular;
            float _Gloss;

            struct a2v
            {
                float4 vertex:POSITION;
                float3 normal:NORMAL;
                float4 texcoord:TEXCOORD0;// uv只有xy,这里声明float2也行?
            };

            struct v2f
            {
                float4 pos:SV_POSITION;
                float3 worldNormal:TEXCOORD0;
                float3 worldPos:TEXCOORD1;
                float2 uv:TEXCOORD2;
            };

            v2f vert(a2v v)
            {
                v2f o;
                o.pos = UnityObjectToClipPos(v.vertex);
                o.worldNormal = UnityObjectToWorldNormal(v.normal);
                o.worldPos = mul(unity_ObjectToWorld,v.vertex);
              	// 计算UV坐标,偏移+缩放,也可以直接用TRANSFORM_TEX(v.texcoord,_MainTex)
                o.uv = v.texcoord.xy*_MainTex_ST.xy+_MainTex_ST.zw;
                return o;
            }

            fixed4 frag(v2f i):SV_Target
            {
                fixed3 worldNormal = normalize(i.worldNormal);
                fixed3 worldLight = normalize(UnityWorldSpaceLightDir(i.worldPos));

                // 漫反射
                fixed3 albedo = tex2D(_MainTex,i.uv).xyz ;// 获取纹理颜色
                fixed3 diffuse = _LightColor0.xyz*albedo*max(0,dot(worldNormal,worldLight));
                // 环境色
                fixed3 ambient = UNITY_LIGHTMODEL_AMBIENT.xyz;
                // 高光
                fixed3 viewdir = normalize(UnityWorldSpaceViewDir(i.worldPos));
                fixed3 halfdir = normalize(worldLight+viewdir);
                fixed3 specular = _LightColor0.xyz*_Specular.xyz*pow(max(0,dot(worldNormal,halfdir)),_Gloss);

                return fixed4(ambient+diffuse+specular,1);
            }

            ENDCG
        }
    }
    FallBack "Diffuse"
}
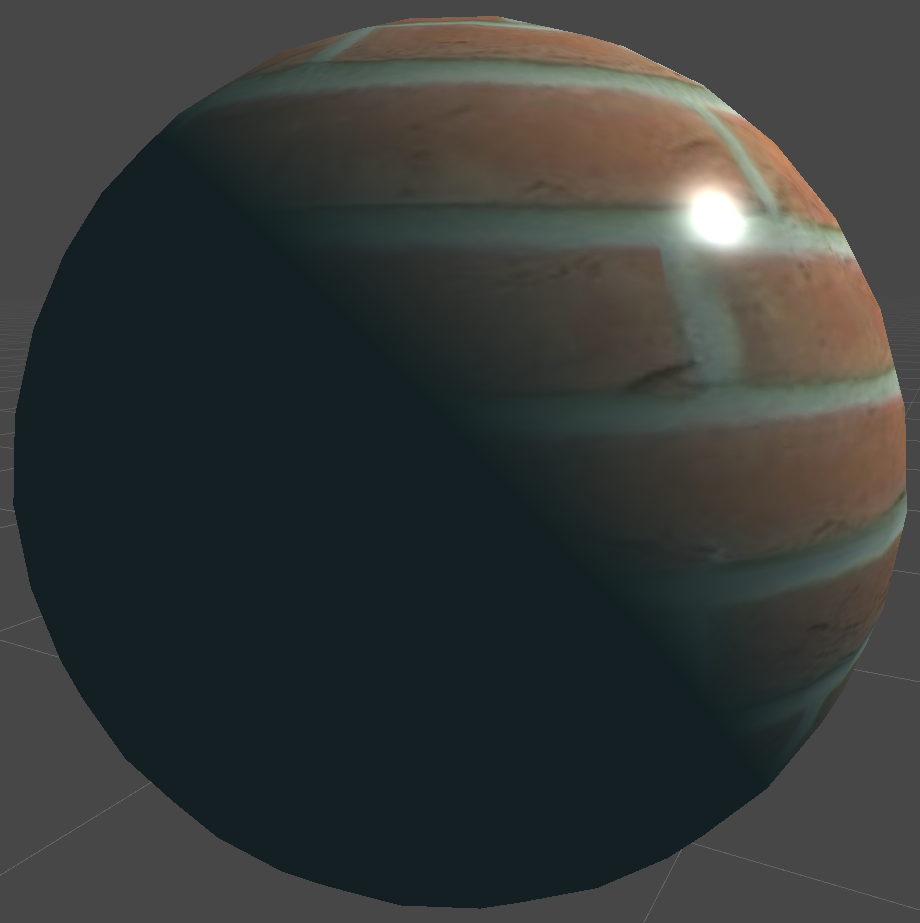
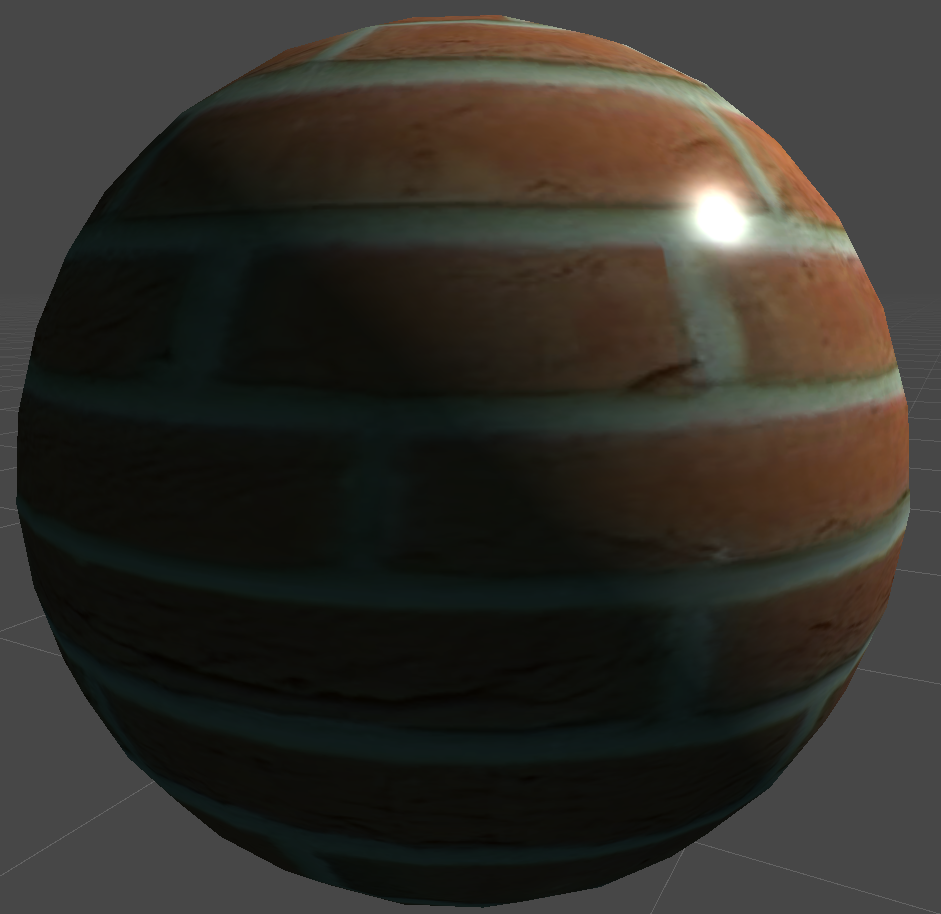
背面是完全黑的,可以给环境色也加上一丢丢的贴图色
// 环境色
fixed3 ambient = UNITY_LIGHTMODEL_AMBIENT.xyz*albedo;
凹凸映射
使用法线贴图来让纹理“看起来”有高度,法线贴图和直接建模是完全不同的
就像画画的时候可以通过透视阴影啥的技巧让你的画“看起来”是3D的,法线贴图也是同理,贴图内储存了相应顶点对应的法线方向,通过改变法线方向从而影响光照信息,最后就是让纹理“看起来”有3D感
法线映射
贴图就是存储的颜色,范围是[0,1],而法线作为单位向量,分量范围是[-1,1],那么贴图和法线的转化公式自然很容易得到
$pixel=\frac{normal+1}{2}$
$normal=pixel*2-1$
切空间
图形渲染就是不同空间的转换,那么显然,法线贴图中存储的法线也需要在某一个坐标空间中
最简单的想法,既然法线是间接应用于贴图的,而贴图是应用于某一个模型的,那我们把法线直接保存在模型空间可以吗?
当然是可以,法线贴图直接存储了模型空间中各个顶点的法线方向
那如果模型顶点位置改变了呢?最直接的需求就是骨骼动画,我们不可能准备无数张贴图应对所有动画。
所以将法线贴图存储在模型空间中确实很直观,但一旦模型的顶点会发生改变,法线贴图就完全错乱了
由此诞生了切空间这一概念,即我们不希望发现信息与其他任何空间有关
对于模型中的每一个顶点,都定义一个独立的空间:
z轴是该点的法线方向(n)
x轴是顶点的切线方向(t)
y轴可以通过xz轴叉乘所得,称为副切线(b)
贴图中的信息是(r,g,b)分别对应于法线信息(x,y,z)
切空间中存储的并不是该点真正的法线方向,而是该点原本法线方向的扰动方向,以模型顶点的法线方向为基准建立的一种相对方向
并不是所有的模型顶点我们都会改变他的法线方向
如果某一个顶点的法线方向不发生改变,那么在切空间中,其法线方向就是(0,0,1),映射之后的贴图点为(0.5,0.5,1),会偏蓝
转换矩阵
如何把一个点从模型空间转换为切线空间?
由基础章节可知,想把坐标空间A中的向量转到坐标空间B中,只需要知道坐标空间A的基底向量在坐标空间B中的表示
先考虑从切线空间转为模型空间
由切空间的定义可知,模型空间中的法线方向构成了切空间的z轴,副切线方向构成了模型空间中的x轴
那么自然有
\[\begin{aligned} M_{t2l}= \begin{bmatrix} t_{1} & b_{1} & n_{1}\\ t_{2} & b_{2} & n_{2}\\ t_{3} & b_{3} & n_{3}\\ \end{bmatrix} \cdot \begin{bmatrix} x_{tangent}\\ y_{tangent}\\ z_{tangent}\\ \end{bmatrix}= \begin{bmatrix} x_{local}\\ y_{local}\\ z_{local}\\ \end{bmatrix} \end{aligned}\]而从模型空间到切线空间的变换矩阵即上述矩阵的转置矩阵
\[\begin{aligned} M_{l2t}= \begin{bmatrix} t_{1} & t_{2} & t_{3}\\ b_{1} & b_{2} & b_{3}\\ n_{1} & n_{2} & n_{3}\\ \end{bmatrix} \end{aligned}\]Shader "Custom/NormalMapTangent"
{
Properties
{
_MainTex("MainTexture",2D)="white"{}
_BumpMap("BumpMap",2D)="bump"{}
_BumpScale("BumpScale",Range(-2,2))=1
_Specular("Specular",Color)=(1,1,1,1)
_Gloss("Gloss",Range(8,256))=8
}
SubShader
{
Pass
{
Tags{"LightMode"="ForwardBase"}
CGPROGRAM
#pragma vertex vert
#pragma fragment frag
#include "Lighting.cginc"
sampler2D _MainTex;
float4 _MainTex_ST;
sampler2D _BumpMap;
float _BumpScale;
float4 _BumpMap_ST;
fixed4 _Specular;
float _Gloss;
struct a2v
{
float4 vertex:POSITION;
float3 normal:NORMAL;
float4 tangent:TANGENT;
float4 texcoord:TEXCOORD0;
};
struct v2f
{
float4 pos:SV_POSITION;
float4 uv:TEXCOORD0;
float3 lightDir:TEXCOORD1;
float3 viewDir:TEXCOORD2;
};
v2f vert(a2v v)
{
v2f o;
o.pos = UnityObjectToClipPos(v.vertex);
o.uv.xy = v.texcoord.xy*_MainTex_ST.xy+_MainTex_ST.zw;
o.uv.zw = v.texcoord.xy*_BumpMap_ST.xy+_BumpMap_ST.zw;
// TANGENT_SPACE_ROTATION;
float3 binormal = cross(normalize(v.tangent.xyz),v.normal)*v.tangent.w;
float3x3 rotation = float3x3(v.tangent.xyz,binormal,v.normal);
o.lightDir = mul(rotation,ObjSpaceLightDir(v.vertex)).xyz;
o.viewDir = mul(rotation,ObjSpaceViewDir(v.vertex)).xyz;
return o;
}
fixed4 frag(v2f i):SV_Target
{
fixed3 tangentLightDir = normalize(i.lightDir);
fixed3 tangentViewDir = normalize(i.viewDir);
fixed3 tangentNormal = UnpackNormal(tex2D(_BumpMap,i.uv.zw));
tangentNormal.xy*=_BumpScale;
tangentNormal.z=sqrt(1.0-saturate(dot(tangentNormal.xy,tangentNormal.xy)));
// 环境色
fixed3 ambient = tex2D(_MainTex,i.uv.xy).rgb*UNITY_LIGHTMODEL_AMBIENT.rgb;
// 漫反射
fixed3 albedo = tex2D(_MainTex,i.uv).xyz ;
fixed3 diffuse = _LightColor0.xyz*albedo*max(0,dot(tangentNormal,tangentLightDir));
// 高光
fixed3 halfdir = normalize(tangentLightDir+tangentViewDir);
fixed3 specular = _LightColor0.xyz*_Specular.xyz*pow(max(0,dot(tangentNormal,halfdir)),_Gloss);
return fixed4(ambient+diffuse+specular,1);
}
ENDCG
}
}
FallBack "Diffuse"
}
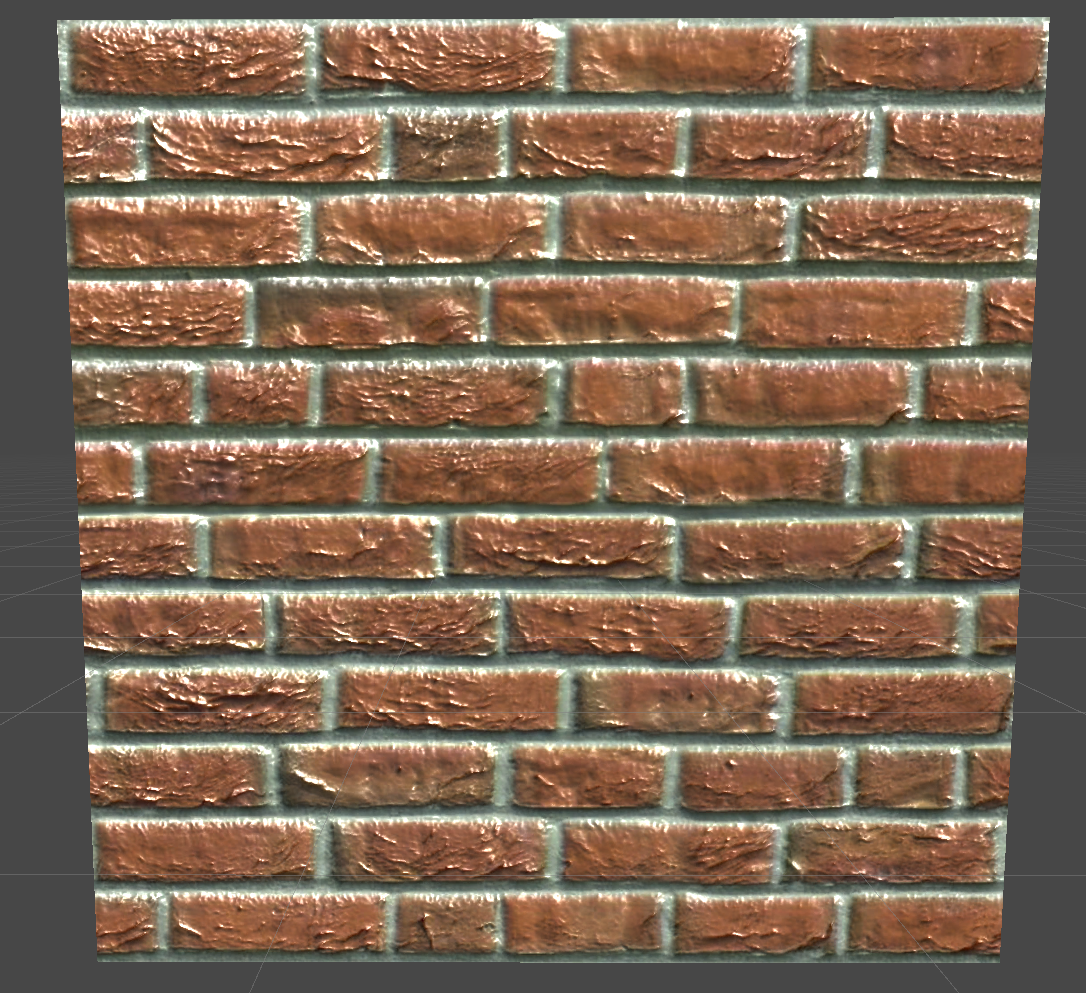
“看起来”好像有了很多细节,但只是利用法线影响了光影造成是视觉误差
渐变纹理
正常来说我们计算漫反射是靠的关照方向以及模型顶点的法线方向,会得到一个值,越大说明该点收到的光照越强,颜色越亮
此时我们可以拿这个兰伯特值,对一张贴图进行采样,来代替他的兰伯特颜色
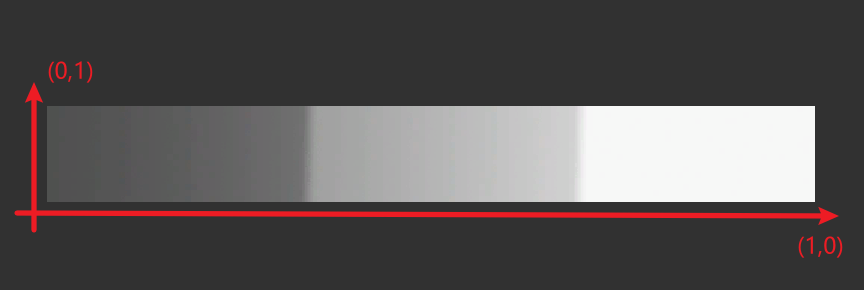
以这张贴图来举例
$lambert=saturate(dot(worldNormal,worldLight))∈[0,1]$
如果我们用
$tex2D(Texture,fixed2(lambert,lambert))$
来采样上述这张贴图,那么某一个点的光照越强烈,则越靠近右上角,否则越靠近右下角,当然其实这张贴图的V值是没有意义的,只有水平方向在发生颜色改变
通过这张贴图来限制了模型的漫反射颜色,会让颜色过渡很明显,更有卡通效果
普通光照模型对比渐变光照模型
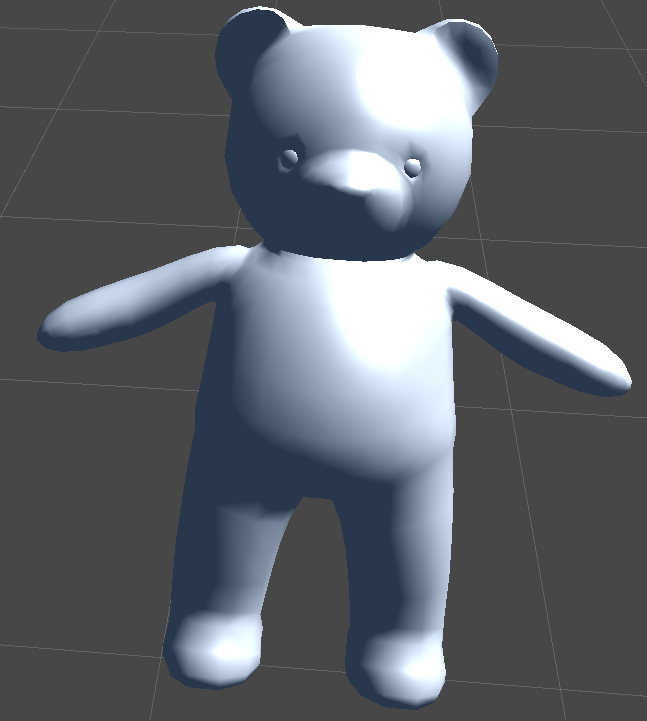
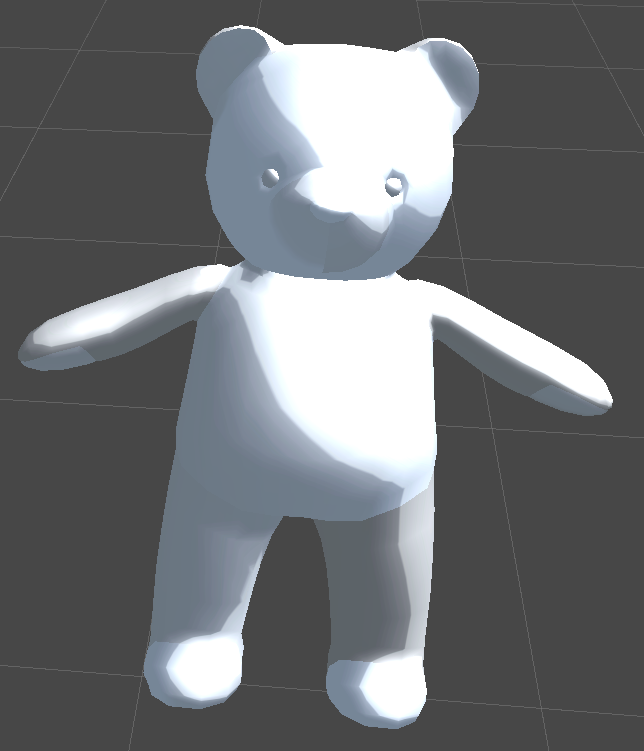
你会发现过渡明暗,非常的明显
Shader "Custom/RampTexture"
{
    Properties
    {
        _RampTex("RampTex",2D)="white"{}
        _Specular("Specular",Color)=(1,1,1,1)
        _Gloss("Gloss",Range(8,256))=8
    }
    SubShader
    {
        Pass
        {
            Tags{"LightMode"="ForwardBase"}

            CGPROGRAM

            #pragma vertex vert
            #pragma fragment frag

            #include "Lighting.cginc"

            sampler2D _RampTex;
            float4 _RampTex_ST;
            fixed4 _Specular;
            float _Gloss;

            struct a2v
            {
                float4 vertex:POSITION;
                float3 normal:NORMAL;
                float2 texcoord:TEXCOORD0;
            };

            struct v2f
            {
                float4 pos:SV_POSITION;
                float3 worldNormal:TEXCOORD0;
                float3 worldPos:TEXCOORD1;
                float2 uv:TEXCOORD2;
            };

            v2f vert(a2v v)
            {
                v2f o;
                o.pos = UnityObjectToClipPos(v.vertex);
                o.worldNormal = UnityObjectToWorldNormal(v.normal);
                o.worldPos = mul(unity_ObjectToWorld,v.vertex);
                o.uv = v.texcoord*_RampTex_ST.xy+_RampTex_ST.zw;
                return o;
            }

            fixed4 frag(v2f i):SV_Target
            {
                fixed3 worldNormal = normalize(i.worldNormal);
                fixed3 worldLight = normalize(UnityWorldSpaceLightDir(i.worldPos));

                // 环境色
                fixed3 ambient = UNITY_LIGHTMODEL_AMBIENT.rgb*tex2D(_RampTex,i.uv).rgb;

                // 漫反射
                // fixed halfLambert = 0.5*dot(worldNormal,worldLight)+0.5;
                fixed lambert = saturate(dot(worldNormal,worldLight));
                fixed3 diffuse = tex2D(_RampTex,fixed2(lambert,lambert)).rgb*_LightColor0.rgb;

                // 高光
                fixed3 viewDir = normalize(UnityWorldSpaceViewDir(i.worldPos));
                fixed3 halfDir = normalize(worldLight+viewDir);
                fixed3 specular = _LightColor0.rgb*_Specular.rgb*pow(max(0,dot(worldNormal,halfDir)),_Gloss);

                return fixed4(ambient+diffuse+specular,1);
            }

            ENDCG
        }
    }
    FallBack "Diffuse"
}
遮罩纹理
遮罩纹理可以让高光散发的更加自然
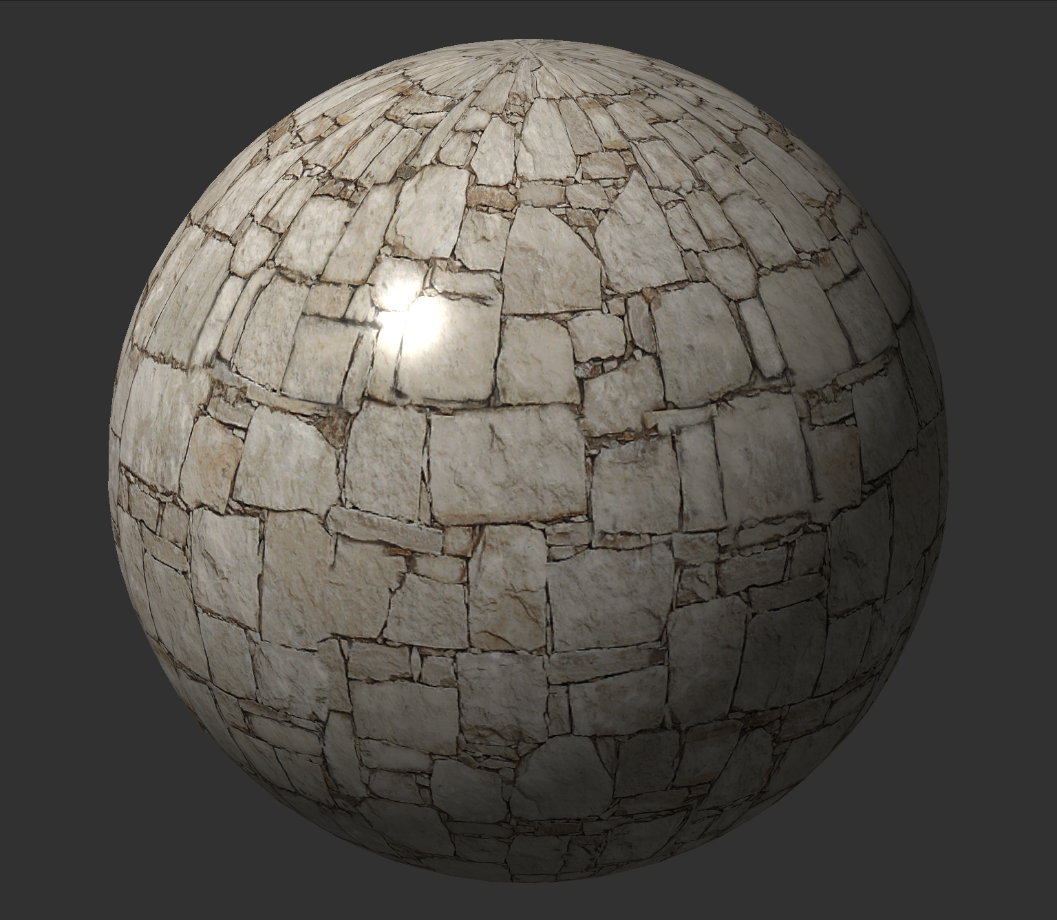

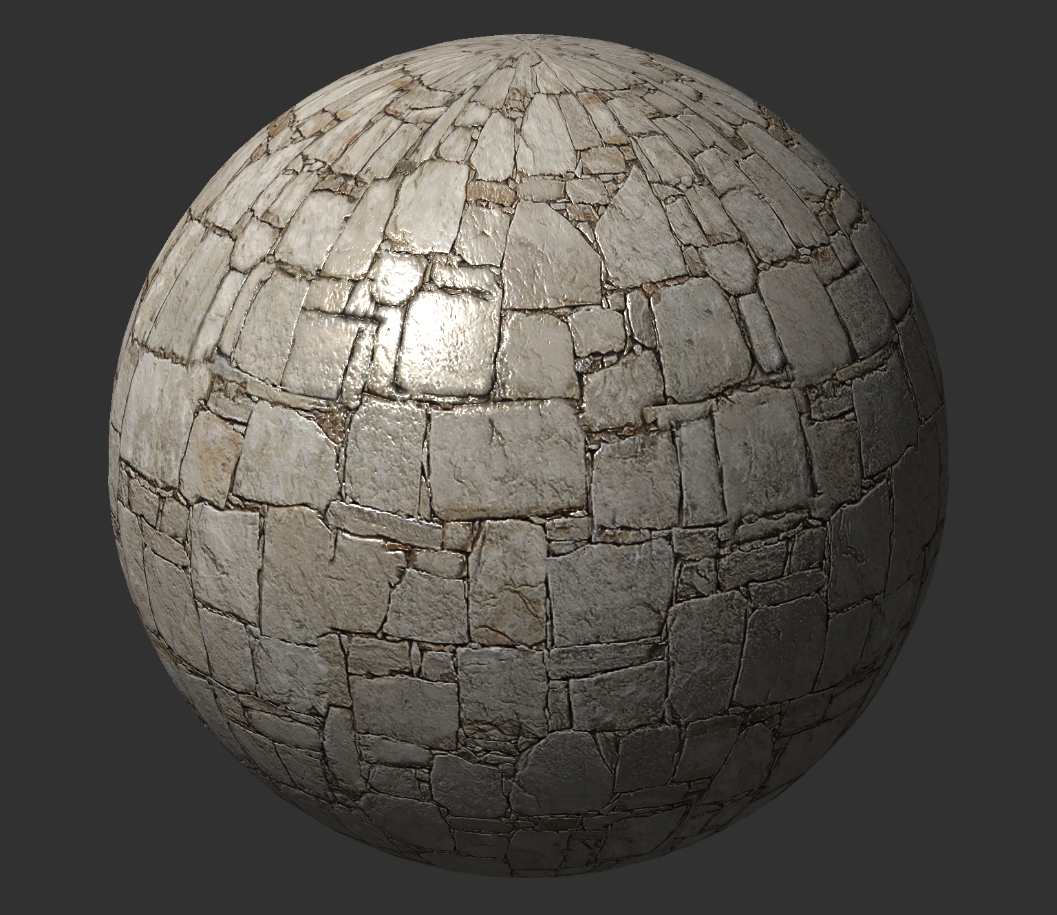
三张图片分别是:普通光照模型、光照模型+法线贴图、光照模型+法线贴图+遮罩贴图
很明显图一和图二的高光很容易聚焦到某一个点上,显的有些奇怪,而图三的光度更加的均匀发散
只需要对一张遮罩贴图,计算高光时乘以遮罩值即可
Shader "Custom/MaskTexture"
{
    Properties
    {
        _MainTex("MainTexture",2D)="white"{}
        _BumpMap("BumpMap",2D)="bump"{}
        _BumpScale("BumpScale",Range(-2,2))=1
        _SpecularMask("SpecularMask",2D)="white"{}
        _SpecularScale("SpecularScale",Range(-10,10))=1
        _Gloss("Gloss",Range(8,256))=8
    }
    SubShader
    {
        Pass
        {
            Tags{"LightMode"="ForwardBase"}

            CGPROGRAM

            #pragma vertex vert
            #pragma fragment frag

            #include "Lighting.cginc"

            sampler2D _MainTex;
            float4 _MainTex_ST;
            sampler2D _BumpMap;
            float _BumpScale;
            float4 _BumpMap_ST;
            sampler2D _SpecularMask;
            float _SpecularScale;
            float _Gloss;

            struct a2v
            {
                float4 vertex:POSITION;
                float3 normal:NORMAL;
                float4 tangent:TANGENT;
                float4 texcoord:TEXCOORD0;
            };

            struct v2f
            {
                float4 pos:SV_POSITION;
                float4 uv:TEXCOORD0;
                float3 lightDir:TEXCOORD1;
                float3 viewDir:TEXCOORD2;
            };

            v2f vert(a2v v)
            {
                v2f o;
                o.pos = UnityObjectToClipPos(v.vertex);
                o.uv.xy = v.texcoord.xy*_MainTex_ST.xy+_MainTex_ST.zw;
                o.uv.zw = v.texcoord.xy*_BumpMap_ST.xy+_BumpMap_ST.zw;

                // TANGENT_SPACE_ROTATION;
                float3 binormal = cross(normalize(v.tangent.xyz),v.normal)*v.tangent.w;
                float3x3 rotation = float3x3(v.tangent.xyz,binormal,v.normal);
                o.lightDir = mul(rotation,ObjSpaceLightDir(v.vertex)).xyz;
                o.viewDir = mul(rotation,ObjSpaceViewDir(v.vertex)).xyz;

                return o;
            }

            fixed4 frag(v2f i):SV_Target
            {
                fixed3 tangentLightDir = normalize(i.lightDir);
                fixed3 tangentViewDir = normalize(i.viewDir);
                fixed3 tangentNormal = UnpackNormal(tex2D(_BumpMap,i.uv.zw));
                tangentNormal.xy*=_BumpScale;
                tangentNormal.z=sqrt(1.0-saturate(dot(tangentNormal.xy,tangentNormal.xy)));

                // 环境色
                fixed3 ambient = tex2D(_MainTex,i.uv.xy).rgb*UNITY_LIGHTMODEL_AMBIENT.rgb;
                // 漫反射
                fixed3 albedo = tex2D(_MainTex,i.uv.xy).xyz ;
                fixed3 diffuse = _LightColor0.xyz*albedo*max(0,dot(tangentNormal,tangentLightDir));
                // 高光遮罩
                fixed specularMask = tex2D(_SpecularMask,i.uv.xy).r*_SpecularScale;
                // 高光
                fixed3 halfdir = normalize(tangentLightDir+tangentViewDir);
                fixed3 specular = _LightColor0.xyz*pow(max(0,dot(tangentNormal,halfdir)),_Gloss)*specularMask;

                return fixed4(ambient+diffuse+specular,1);
            }

            ENDCG
        }
    }
    FallBack "Diffuse"
}